By Jennifer Dick, Interpretation Officer, Royal Botanical Gardens
For the past few years at Royal Botanical Gardens, we’ve been making simple videos for social media using cell phones. This fun side-of-the-desk project has become critical in the past month as we move from interpreting our gardens and nature sanctuaries in situ to entirely virtually. RBG closed temporarily in mid-March due to COVID-19 to help keep our community safe. At the beginning of April, we launched RBG at Home to connect with our “visitors” by providing videos, activities, and videoconference programs.
In preparation for creating more videos than we ever have before and from our own homes and yards, I put together my top tips for filming. A few of these tips come from Karin Davidson-Taylor’s March blog poston delivering webinars. Given that interpreters around the world are facing similar situations and working on new ways to connect with their audiences, I wanted to also share these tips with you. As with anything, this gets easier with practice. After a few videos, you’ll feel more comfortable in front of the camera and you’ll appear more natural. You’ve got this!
I’d love to hear some of your tips and some of the things you learn-by-doing in the weeks to come. Share in the comments below. Please take good care of yourself!
1. Plan Ahead: Be prepared
a. Be an interpreter: Plan your video much like you would plan a personal interpretive program. Even though this video is a “non-personal” interpretive product, you still want it to be engaging, inspiring, organized, and relevant. Make it personal! Don’t be afraid to ask your audience questions, get them to do an action, ask them to participate. Even though you can't see them, they’re watching you being the awesome interpreter you are.
b. Message: Have a clear message (theme statement!) so viewers understand your point.
c. Draft an outline: Take the time to write a great theme, identify your target audience, and set your objectives. Ask yourself what you want your viewers to know, think about, and feel. Outline your content, and the order you want to cover it.
d. Write a script: If scripting is helpful for you, write it all out. What are you going to say to get your theme and objectives across to your viewers? How are you going to introduce and conclude your video?
e. Flow: Have a clear intro and conclusion and use obvious transitions between points so it’s easier to follow the content.
f. Timing: You probably won’t be able to do as much as you think you can in the time you are planning. Less is best so be clear and concise to get your message across.
g. Storyboarding: For videos with multiple shots, angles, and images, it can be helpful to map out a storyboard to plan your shots, timing, and delivery.
h. Reviewer: If possible, have someone else review your outline to make sure your plan makes sense.
i. Platform: Consider where your video will be posted. Platforms like Facebook have algorithms that give priority in feeds for videos of certain lengths. Instagram cuts off the sides of your shot, so you need to keep everything centred.
j. Text: No matter what platform you plan to use, you’ll need to draft text that will accompany your video. Write a catchy title, use an active voice, keep it short, and make it fun. Try writing this text like you would an advertising description for a live program.
k. Responses: Ideally your audience will engage with you after watching. What do you want that to look like? Are you going to ask them to comment or use a hashtag to post their own photos or videos? Be as specific as you can with how you’d like them to respond.
2. Equipment: Gear up
a. Cellphone: Most cellphones have great rear-facing cameras. Don’t film in selfie-mode since the resolution isn’t as good. Always film in landscape.
b. DSLR: Cameras also take great video but check your specs. My cell phone has better resolution than my older camera.
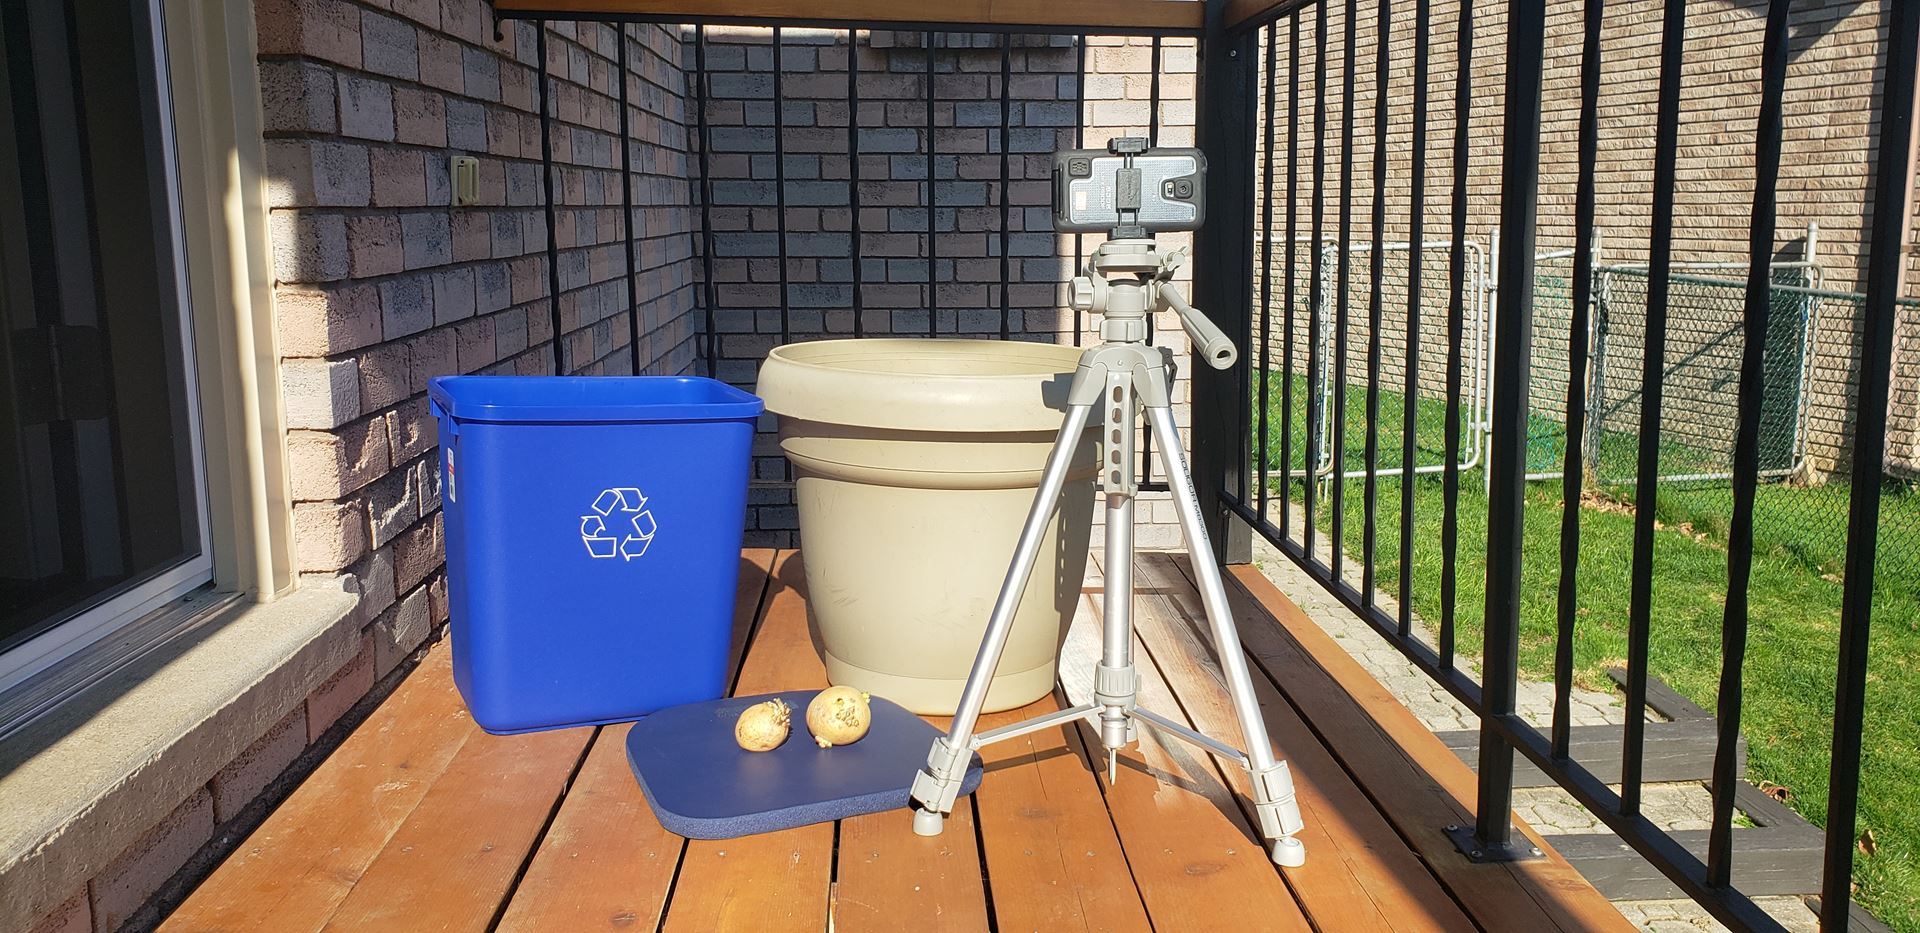
c. Tripod: These are really valuable if you are taking still videos. You can also get creative and rig up a stationary stand or prop up your camera. Selfie sticks can help with this too.
d. Camera person: If you’re planning a moving frame, recruit someone (preferably from your household) with a steady hand to help.
e. Gimbal: If you want really smooth looking moving shots, try using a gimbal. It’s not critical for low-budget filming and most viewers are forgiving if your camera person has a fairly steady hand.
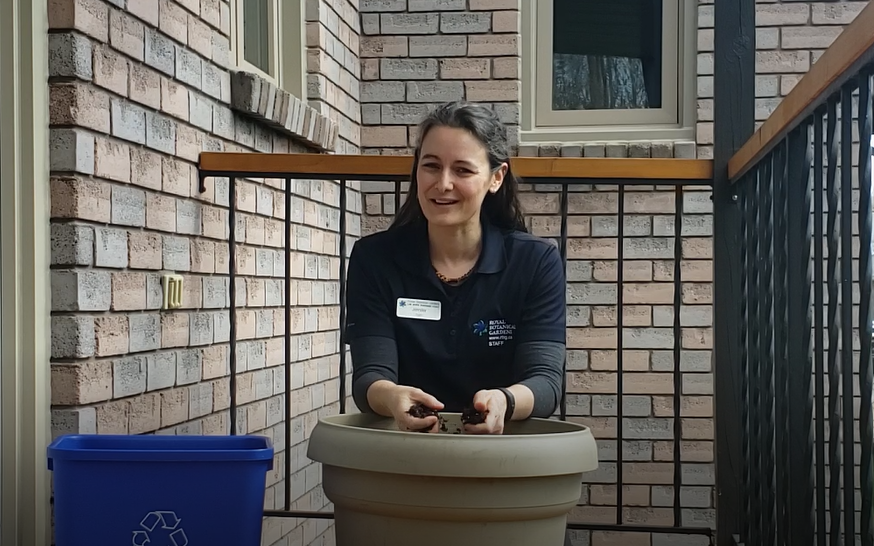
f. Props: Have everything you need close at hand and in front of you if possible so you don’t need to turn your back to the camera. Props should be large enough and have a simple enough form to show up well on camera. Showcase them on a white or neutral background if possible
3. Filming: Take the shot
a. Keep it simple: Start with videos that you can film straight through in one shot. This is much simpler than trying to edit together multiple shots.
b. Rehearse: Go through your planned content several times, at least once with a camera in place to make sure the view will work.
c. Take 2: Film two to three takes; it’s good to have options to choose the best one.
d. Beginning and ending: wait a few seconds after recording starts to begin and let the recording run a few seconds after you’re done so that nothing gets cut off.
e. Pace: Slow your speech down a bit so the mic will pick each distinct word.
f. Keep going: If you stumble, stutter, or pause, push through. It’s not as noticeable as you think.
g. Eye on the prize: When not looking at your subject, keep your gaze on a single focal point to avoid wandering eyes. A good rule of thumb is to look next to the camera lens. If you have a camera person, look at them. If you don’t, try adding a dot or picture an inch or two from the lens to look at.
4. The View: Admire the scenery
a. Background Indoors: Make sure the space is tidy and as stark as possible. A busy background is distracting. You can always ‘hide’ a busy background with a solid tablecloth or sheet.
b. Background Outdoors: Again, make sure the space is tidy. Is there anything that doesn’t belong in the landscape that can be moved/removed such as litter or equipment?
c. Clothing: Ideally wear your uniform shirt if you have one. If not, wear solid coloured clothing in blues, greens, dark reds, and preferably not bright colours or very dark colours. Patterns, stripes and dots are not a good idea since they distract the viewer and may even make them dizzy.
d. Position: Make sure that the camera is at your eye level, so viewers aren’t looking down on you or looking up your nose.
e. Moving: A changing view is less static, can make the video more interesting, and keep people’s attention longer. This needs a steady hand with the camera, and you need to plan the route (including lighting and sound) ahead of filming. This can be done in your rehearsals. The “walk and talk” works well but make sure that you are always facing the camera which sometimes means walking on an angle or walking backwards (or your camera person walks backwards).
f. Staying still: Moving isn’t always appropriate and a static view works best for instructional or short videos. If possible, use a tripod to film since camera shake is more noticeable in a still shot.
g. Framing: You don’t always need to be centred in the shot. Try using the rule of thirds or leading lines to create visual interest. Do try to keep the content towards the middle of the screen though since Instagram cuts off the sides of the frame./p>
h. Orientation: If filming on your phone, always use landscape. This matches the orientation of most video viewing platforms so your video won’t be stretched or appear with black bars on each side.
5. Lighting: In the limelight
a. Outdoor: Where’s the sun? Where are the shadows? If it’s early or late in the day, is there enough light? Are both you and your subject(s) lit well enough? Consider the lighting for your whole route if moving.
b. Indoor moving: Similar considerations to outdoors. Where are the windows, light sources, and shadows? Is there enough light for both you and your subject(s)? Consider the lighting for your whole route.
c. Indoor still: If possible, place a soft/diffuse light in front of you so that you are well lit. This is especially important for still shots. Try to make it so that you are evenly lit and do not have shadows on one side of your face. If you are in a room with a window, face the window. If you must have your back to the window, use curtains; otherwise cameras will adjust to dim the entire image resulting in you being a dark silhouette.
6. Sound: All ears
a. Background: Take a moment to listen to the ambient sounds. Insects and birds add a nice soundtrack. Traffic, fans, running water, and other background noise (such as aquarium filters, dogs barking, people talking) are distracting and are more obvious in a recording than in person. Can you move to another location or eliminate the sound temporarily?
b. Wind: Even a light breeze can make a lot of noise in the microphone. Wait for the wind to die down or film in a sheltered location.
c. Voice: Always face the microphone. Depending on the quality of your mic, it may or may not pick up your voice if you turn your head. Use inflections and intonation to make your voice more expressive.
d. Energy: Use more energy that you would for a live presentation to make it engaging. Your normal presentation energy won’t translate the same way on film so amp it up and don’t be afraid to be a bit over the top.
e. The word: Most interpreters have a word or phrase that they use more than any other. Your word might change over time. If you don’t know what your current word is before filming, you probably will after because it’s more noticeable on video, at least it is for me. My current word is “now”. It used to be “excellent”. Don’t feel like you need to re-film because of it, but I encourage you to watch/listen for it so you’re more aware of it.
Jennifer is Royal Botanical Gardens' Interpretation Officer where she manages interpretation in their 11 square-kilometres of gardens and nature sanctuaries. Her interp adventures began in Ontario Parks in 2001. A Biology degree and graduate diploma in Science Communication have benefited her career working for museums and not-for-profits across Canada. She joined Interpretation Canada’s board of directors in 2015.